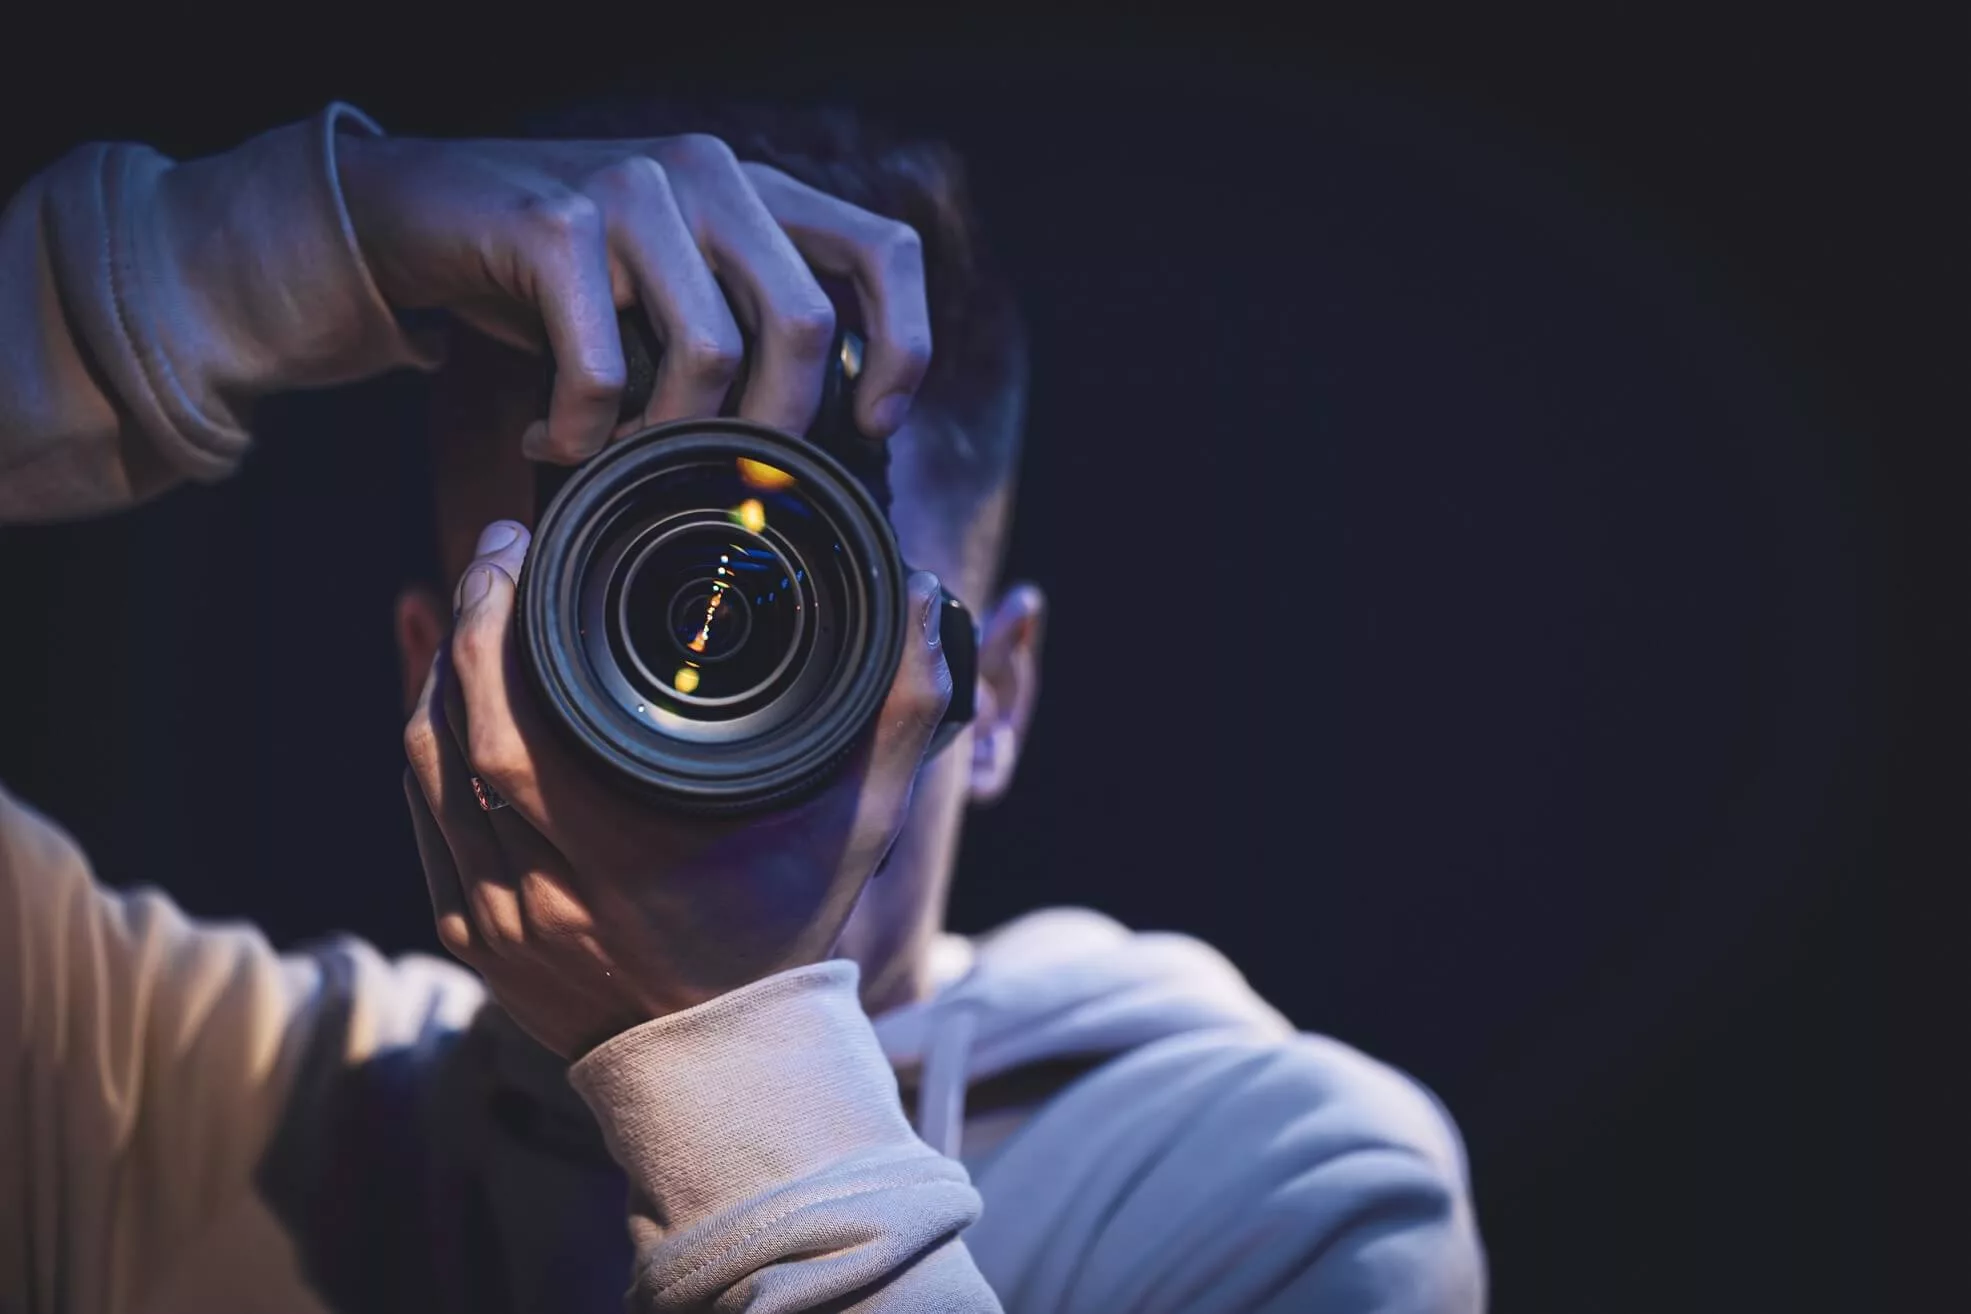
Lighting is one of the most critical elements in photography. It can make or break a photo, transforming an ordinary scene into something extraordinary. Whether you’re shooting portraits, landscapes, or still life, understanding how to use light effectively is key to creating stunning images. This guide will explore essential lighting techniques to help you take your photography to the next level.
1. Understand the Basics of Light
Before diving into techniques, it’s important to understand the fundamental qualities of light:
- Direction: Where is the light coming from? Front, side, back, or above?
- Intensity: How bright or harsh is the light?
- Color Temperature: Is the light warm (yellow/orange) or cool (blue)?
- Quality: Is the light soft and diffused or hard and direct?
Mastering these aspects will help you manipulate light to achieve your desired effect.
2. Natural Light Techniques
Natural light is a favorite among photographers for its versatility and beauty. Here’s how to make the most of it:
Golden Hour
- The golden hour occurs shortly after sunrise and before sunset when the light is soft, warm, and diffused.
- Ideal for portraits, landscapes, and creating a dreamy, romantic atmosphere.
Blue Hour
- The blue hour happens just before sunrise and after sunset when the sky takes on a deep blue hue.
- Perfect for cityscapes, architecture, and moody, atmospheric shots.
Overcast Light
- Cloudy days provide soft, even lighting with minimal shadows.
- Great for portraits, macro photography, and capturing subtle details.
Backlighting
- Position your subject with the light source behind them to create a glowing effect or a silhouette.
- Use this technique for dramatic and artistic shots.
Window Light
- A window can act as a natural softbox, providing soft, directional light.
- Ideal for indoor portraits and still life photography.
3. Artificial Light Techniques
When natural light isn’t available or sufficient, artificial lighting can step in to create stunning effects. Here are some techniques to try:
On-Camera Flash
- While often harsh, an on-camera flash can be useful in low-light situations.
- Diffuse the flash with a softbox or bounce it off a ceiling or wall to soften the light.
Off-Camera Flash
- Position your flash off-camera to create directional light and add depth to your photos.
- Use modifiers like umbrellas, softboxes, or grids to control the light’s quality and spread.
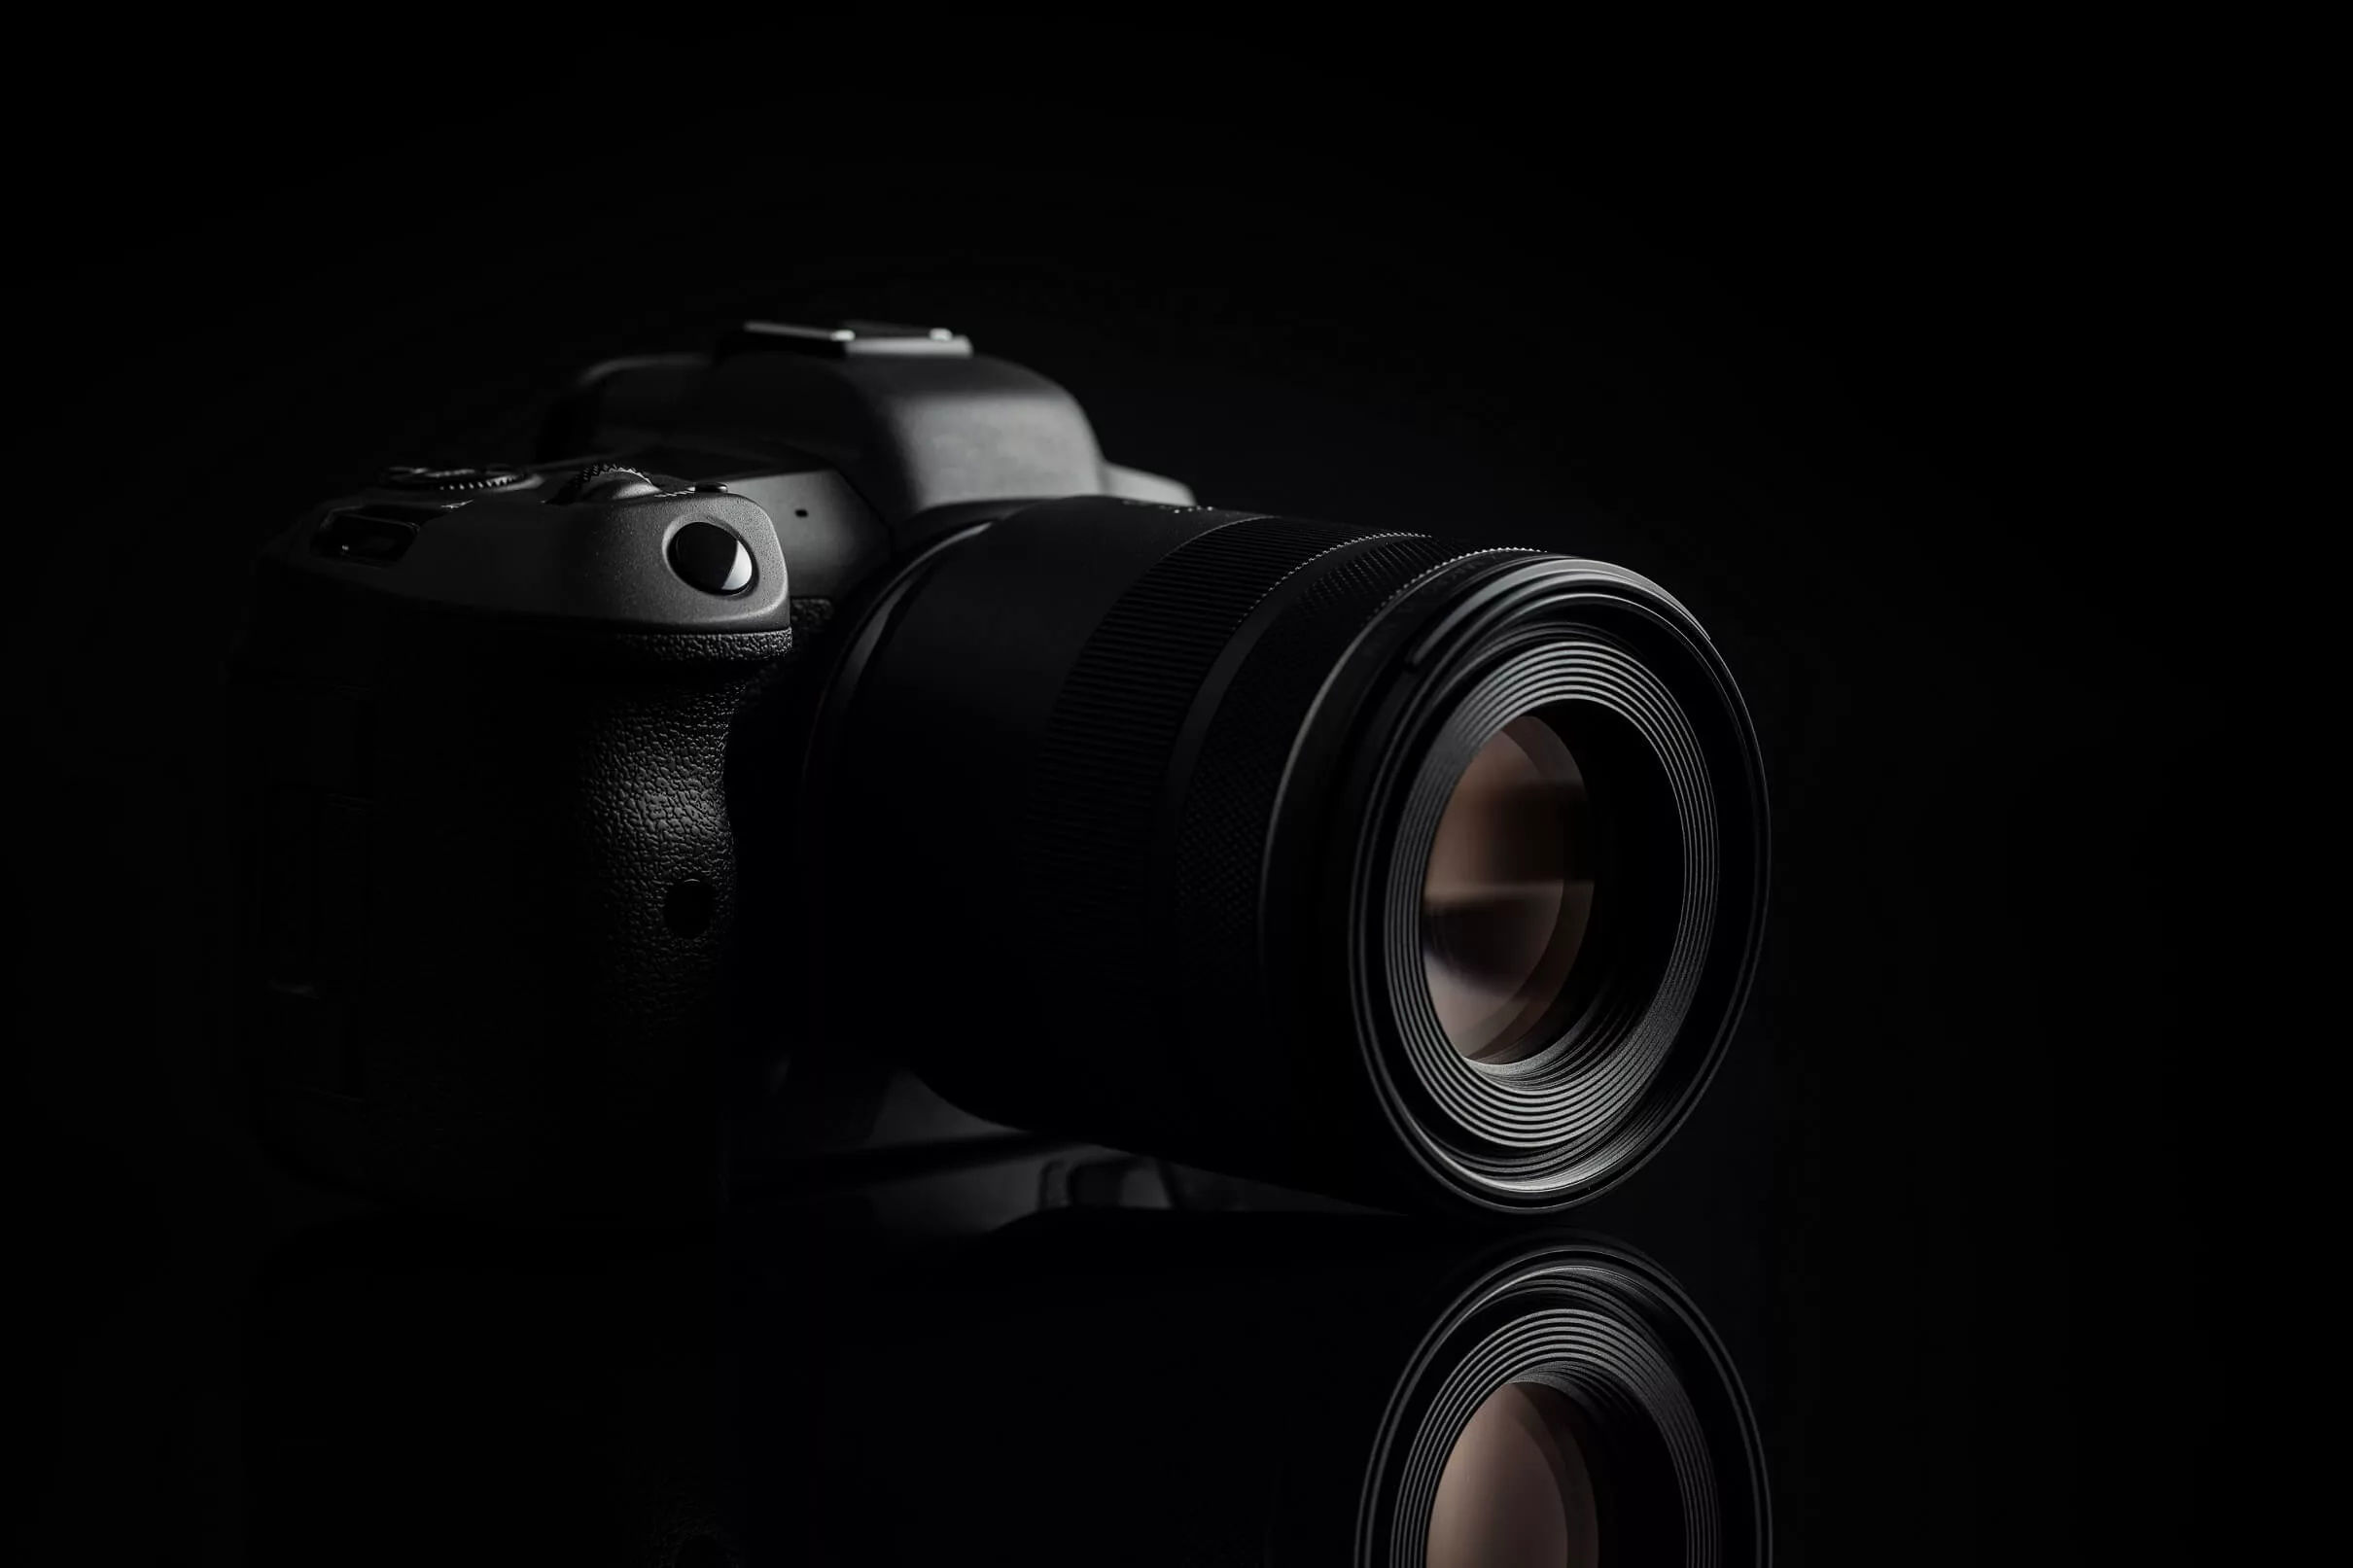
Studio Lighting
- Studio lights, such as strobes or continuous lights, offer complete control over lighting.
- Use key lights, fill lights, and backlights to create a three-dimensional effect.
Ring Light
- A ring light provides even, shadowless lighting, making it popular for portraits and beauty shots.
- It creates a distinctive circular catchlight in the subject’s eyes.
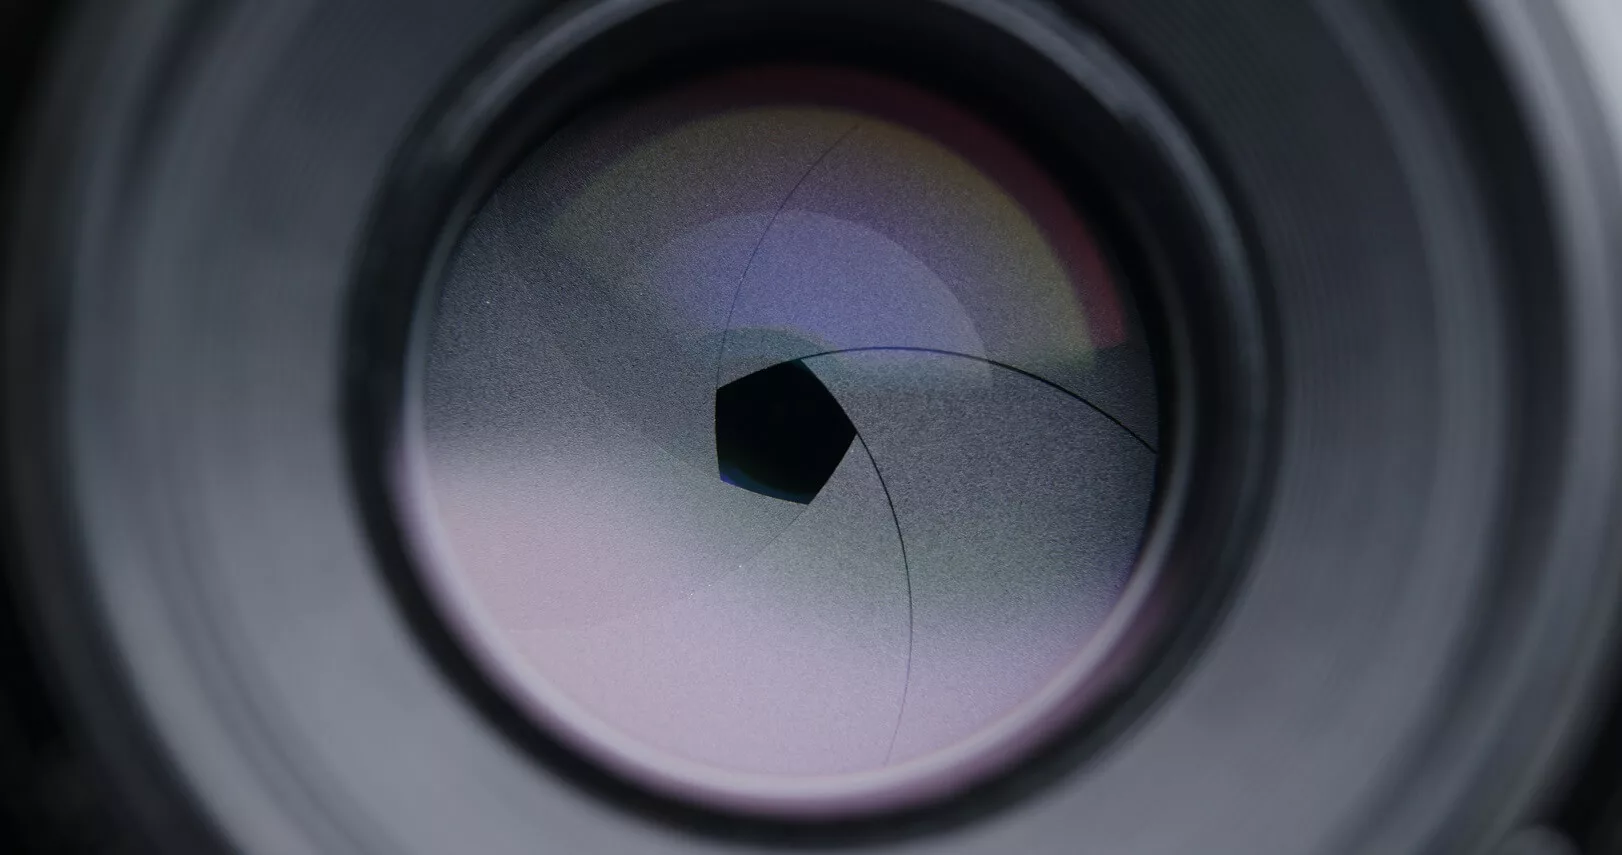
4. Lighting Modifiers
Modifiers help shape and control light to achieve the desired effect. Some common ones include:
- Diffusers: Soften harsh light by scattering it (e.g., softboxes, umbrellas).
- Reflectors: Bounce light back onto the subject to fill in shadows (e.g., white, silver, or gold reflectors).
- Grids and Snoots: Focus light into a narrow beam for dramatic, spotlight effects.
- Gels: Add color to your light for creative or corrective purposes.
5. Creative Lighting Techniques
Experiment with these techniques to add a unique touch to your photos:
Rembrandt Lighting
- A classic portrait lighting technique where a small triangle of light appears under the subject’s eye on the shadowed side of the face.
- Achieved by positioning the light at a 45-degree angle to the subject.
Split Lighting
- Light one side of the subject’s face while leaving the other side in shadow.
- Creates a dramatic, high-contrast effect.
Rim Lighting
- Position the light behind the subject to create a glowing outline around their edges.
- Adds separation between the subject and the background.
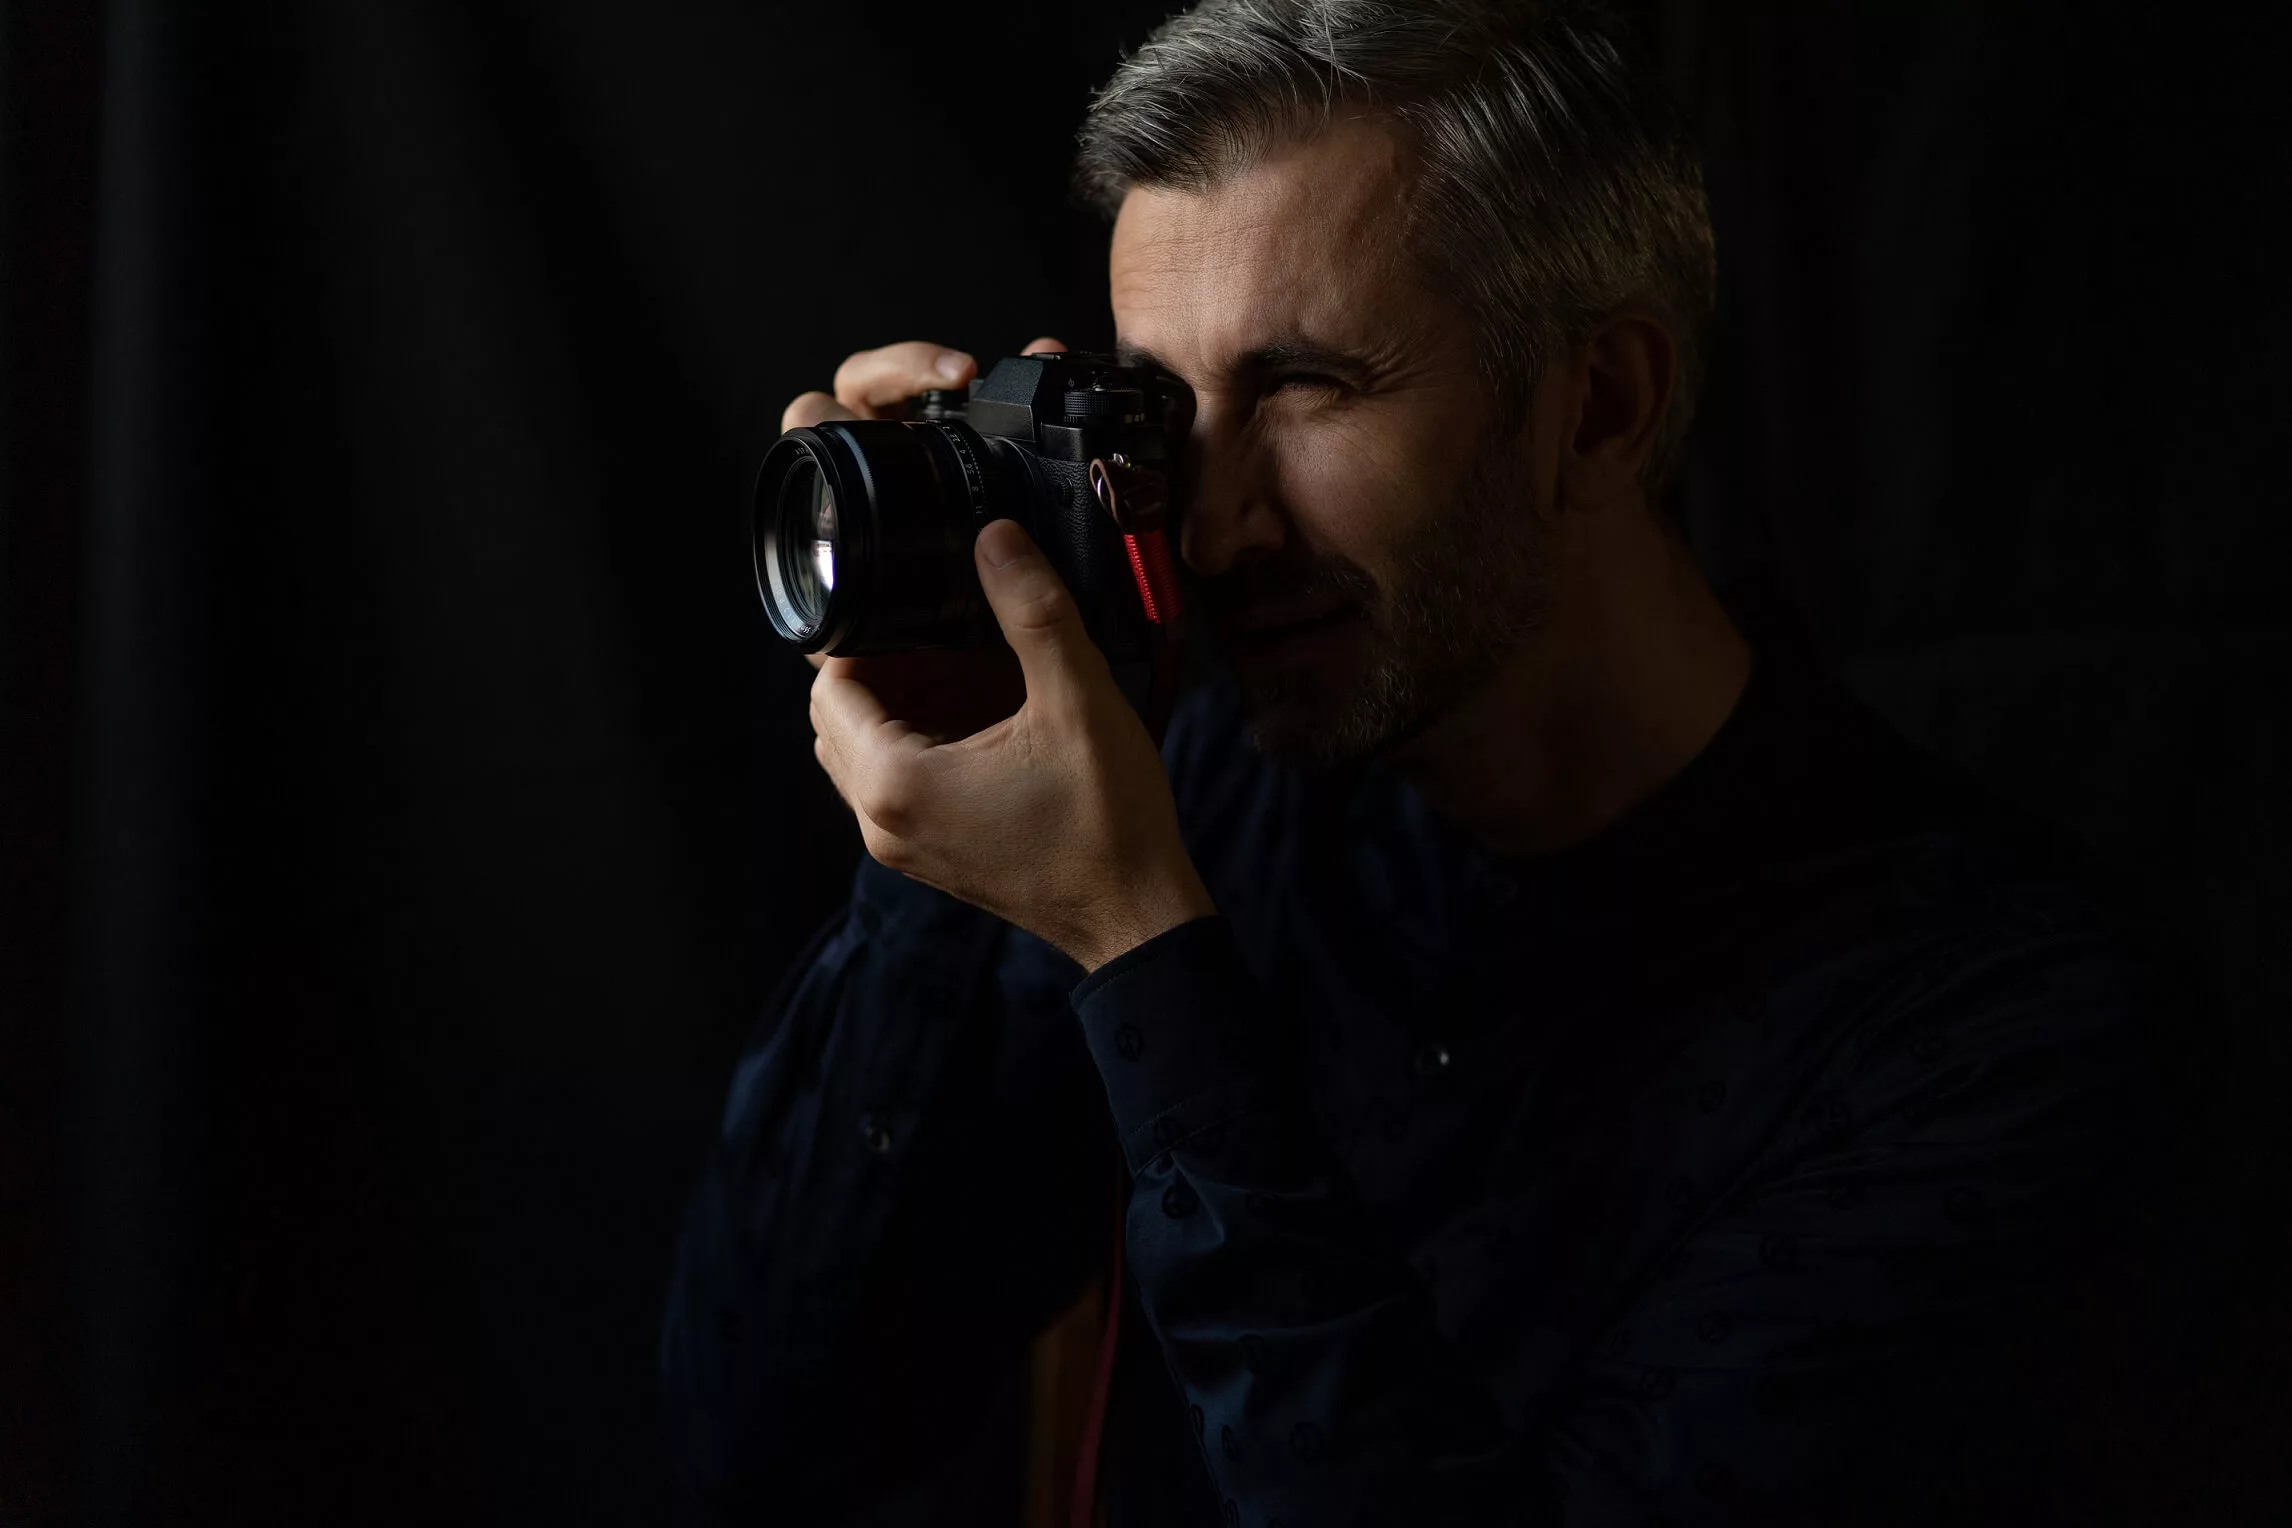
Low-Key Lighting
- Use minimal lighting to create dark, moody images with strong shadows.
- Ideal for dramatic portraits and storytelling.
High-Key Lighting
- Use bright, even lighting to create light, airy images with minimal shadows.
- Perfect for fashion, beauty, and product photography.
6. Mixing Light Sources
Combining different light sources can add depth and interest to your photos. For example:
- Mix natural light with a flash to balance exposure and add fill light.
- Use colored gels on artificial lights to complement or contrast with ambient light.
7. Practical Tips for Better Lighting
- Observe and Adapt: Pay attention to how light behaves in different environments and adjust your approach accordingly.
- Use a Light Meter: Ensure proper exposure by measuring the light intensity.
- Experiment with Angles: Move your light source or change your position to see how it affects the scene.
- Practice: The more you work with light, the more intuitive it will become.
Conclusion
Lighting is the essence of photography. By understanding and mastering different lighting techniques, you can transform ordinary scenes into extraordinary images. Whether you’re working with natural light, artificial light, or a combination of both, the key is to experiment, observe, and refine your skills. Remember, great lighting doesn’t just illuminate a subject—it tells a story, evokes emotion, and brings your vision to life. So grab your camera, play with light, and create something stunning!

